Doe Eye Makeup: The Secret Behind Soft, Big & Beautiful Eyes
There’s a reason the doe eye keeps coming back. Long after the sharp cat-eye and the smouldering siren look have had their turn on everyone’s feed, the soft, wide, slightly innocent “Bambi” eye stays in rotation. At Makeup Studio Training Center, it’s one of the first looks we teach new students, and not because it’s flashy. It’s because doe eyes teach you placement, blending, and restraint, the three habits that separate clean makeup from cakey makeup.
This guide walks you through exactly what doe eyes makeup is, how to create them step by step, and how to adapt the technique to your own eye shape. We’ve also added the corrections our instructors make most often, so you can skip the mistakes.
What Is Doe Eye Makeup?
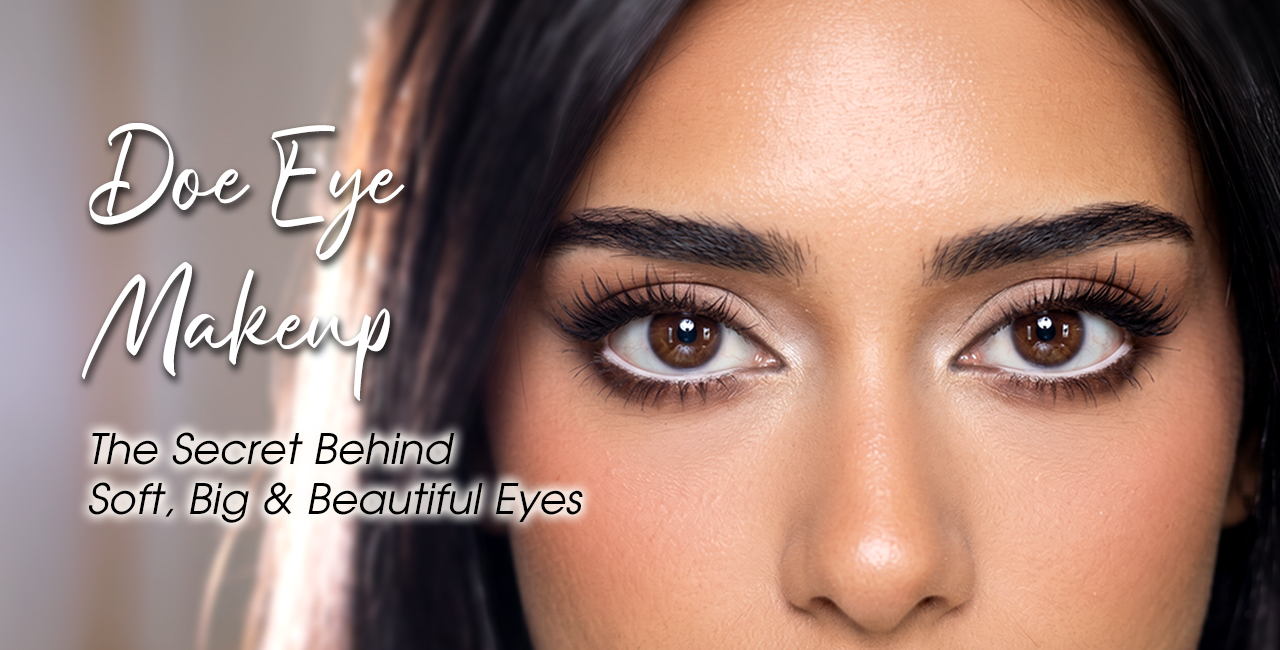
Doe eye makeup is a soft, rounded eye look designed to make the eyes appear bigger, brighter, and more open, like a deer’s. Instead of pulling the eye outward and upward (the way a winged or siren look does), doe eye makeup draws attention to the centre of the eye and the lower lash line. The result reads as fresh, youthful, and a little dreamy.
The whole look rests on a few ideas: a light, reflective lid, soft and rounded shadow rather than sharp lines, a brightened waterline, and mascara concentrated in the middle of the lashes. Get those four things right and the shape almost takes care of itself.
Doe Eyes vs Siren Eyes: What’s the Difference?
Students mix these two up constantly, so it’s worth being clear. They’re built on opposite logic.
| Doe Eyes | Siren Eyes | |
|---|---|---|
| Goal | Round, open, wide-awake | Elongated, lifted, sultry |
| Direction | Vertical (centre focus) | Horizontal (outer corner pull) |
| Liner | Thin, soft, little to no wing | Sharp, extended wing |
| Mood | Sweet, innocent, fresh | Mysterious, seductive |
| Best for | Daytime, bridal, soft glam | Evening, editorial, bold looks |
If your liner is tugging the eye toward your temple, you’ve drifted into siren territory. Doe eyes keep the weight in the middle.
What you’ll need to do doe eye makeup?
You don’t need a kit full of products for this. Most people already own everything on the list.
- Eye primer (or a little concealer to prep the lid)
- A light, slightly shimmery base shade: champagne, soft beige, peach, or pale gold
- A medium matte brown or taupe for the crease
- A soft brown or black eyeliner
- A nude or white waterline pencil
- A lash curler
- A lengthening mascara
- Optional: centre-heavy or “doll” false lashes
- A small fluffy blending brush and a pencil/smudger brush
How to Do Doe Eye Makeup, Step by Step
Step 1: Prep and brighten the lid
Prime the lid, or pat on a thin layer of concealer and set it with a dusting of powder. Then sweep your light base shade across the whole lid and up toward the brow bone. This is the step beginners skip, and it’s the one that does the heavy lifting. A bright, smooth lid instantly makes the eye look more awake. Keep it light here, dark, smoky lids work against the wide-eyed effect you’re going for.
Step 2: Add soft definition in the crease
Take the medium brown on a fluffy brush, tap off the excess, and build colour just above your natural crease using small circular motions. Keep the shape rounded and stop before you reach the outer corner. You’re adding gentle depth, not lift. The most common error we see is too much product too fast, so go back to the brush two or three times rather than loading it once.
Step 3: Line the upper lash line (no sharp wing)
Trace the eyeliner right along the upper lashes. Keep it thin at the inner corner, let it thicken very slightly over the centre of the eye, and stop short at the outer corner with at most a tiny flick. A soft smudge looks more natural than a crisp line. Resist the wing, the moment the liner shoots upward and out, you’ve left the doe look behind.
Step 4: Define the lower lash line
This is the step that actually creates the “doe” effect, and it’s the one people forget. With a pencil brush, run a little soft brown shadow along the lower lash line, keeping most of the colour under the centre of the eye and fading it toward the corners. Blend so there’s no hard edge. This rounds the eye and makes it look noticeably larger.
Step 5: Brighten the waterline
Line the lower waterline with a nude or white pencil. This single trick opens the eye more than almost anything else, because it visually extends the white of the eye. Nude reads natural and everyday; white is more dramatic and photographs beautifully. Choose based on where you’re wearing the look.
Step 6: Highlight the inner corners
Tap a touch of shimmer or a light highlight shade into the inner corners and along the lower centre of the lash line. It catches the light and pushes that open, glassy effect a little further. A fingertip works fine here.
Step 7: Curl, then build mascara in the centre
Curl your lashes properly first, this matters more than the mascara itself. Then apply mascara with the centre lashes in mind: more product and more vertical wiggle through the middle, lighter at the outer corners. Coat the lower lashes too. Where a siren look stretches the lashes outward, doe eyes lift them up and out from the centre to keep that round shape.
Step 8: Add false lashes if you want extra impact
Optional, but lovely for events. Reach for “doll” style lashes that are longest in the centre, or pop a few individual/half lashes in the middle of the lash line. Skip cat-eye lash styles that are longest at the outer edge, they’ll fight everything you just did.
Adapting Doe Eyes to Your Eye Shape
The technique above is the foundation. Here’s how we tell students to tweak it for what they’re actually working with.
- Hooded eyes: Place the crease colour slightly above your natural crease so it’s visible with the eye open, and tightline the upper lash line instead of using a thick liner that disappears.
- Monolid eyes: Use a soft gradient, darker near the lashes, fading lighter toward the brow to build the illusion of roundness. A strong centre highlight does a lot of work here.
- Almond eyes: You’re already balanced, so just concentrate shimmer and mascara dead centre to round the shape out.
- Round eyes: Lucky you, this is your look by default. Keep liner thin and lean into the brightening steps rather than adding depth.
- Downturned eyes: Keep all the focus central and lift the centre lashes; avoid dragging anything toward the outer corner, which exaggerates the downturn.
Day vs Night Doe Eyes
For daytime, swap black liner for soft brown, keep the shimmer subtle, and a nude waterline keeps it wearable. For night, deepen the outer-centre crease a touch, switch to a white waterline, add the false lashes, and let the inner-corner highlight go a little brighter. Same blueprint, just dialed up.
Common Mistakes to Avoid
These are the corrections we make over and over in class:
- Going too dark on the lid. Heavy, smoky lids shrink the eye and erase the doe effect.
- Winging the liner. Even a small wing tips the whole look toward siren eyes.
- Skipping the lower lash line. This is the step that creates roundness; without it the eyes just look “done,” not open.
- Forgetting the waterline. A bright waterline is half the magic, don’t leave it out.
- Not curling the lashes. No amount of mascara fakes the lift a good curl gives.
Pro Tips From Our Instructors
A few things that aren’t in most tutorials but make a real difference. Warm the lash curler for a second or two against your skin before using it, the curl holds longer. When you brighten the waterline, smudge a hair of the same nude pencil into the lower lash line too, so there’s no harsh jump between the two. And if your look feels flat, the fix is almost always more highlight in the inner corner, not more shadow in the crease. Restraint, again, is the whole game.
Want to Learn This Properly?
Reading the steps gets you most of the way. Getting hands-on feedback, on your own eye shape, with the right brush in your hand, is what makes it click. If you’d like to take your skills further, our courses at Makeup Studio Training Center cover everything from foundational eye techniques like this one to full professional and bridal makeup. Come practice with us, and the doe eye will be the easy part.
Frequently Asked Questions
Can I get doe eyes if I have small eyes?
Yes, and honestly it’s the most flattering look for smaller eyes. Keep the lid bright, line only the centre of the upper lashes, and use a nude waterline to create the illusion of more space. Those three moves make small eyes look noticeably bigger.
What’s the best eyeliner colour for a natural doe eye?
Soft brown or charcoal instead of black. It defines the lash line without the harshness, which keeps the look soft and “born with it” rather than heavily made up.
Does doe eye makeup suit mature skin?
It does, often better than sharper styles. Because it avoids dragging lines and heavy dark shadow, it tends to look soft and lifting rather than ageing. Cream and satin textures usually sit nicer than dry mattes on mature lids.
How is a doe eye different from a fox eye?
A fox eye lifts and elongates the eye toward the temple for a sharp, almond-stretched look. A doe eye does the opposite, it rounds and opens the eye with the focus kept in the centre.
How long does it take to learn?
Most people get a clean version in a couple of practice sessions. The blending and the restraint are what take longer to master, which is exactly why we use it as a foundational look in our courses.
Sorry, the comment form is closed at this time.