
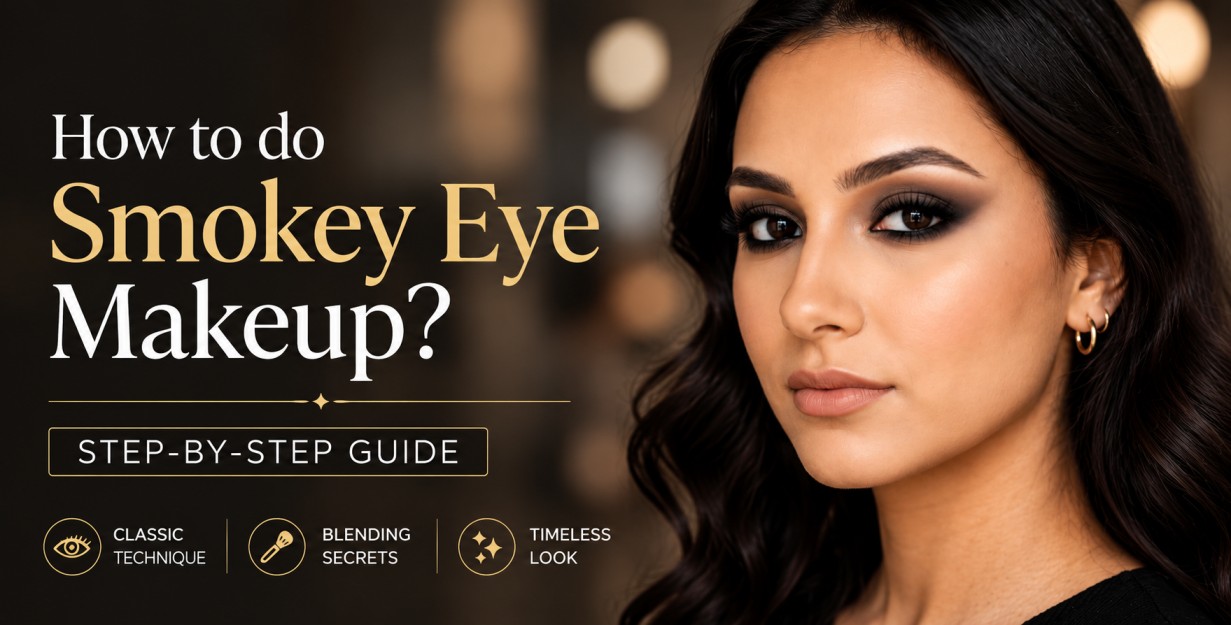
How to Do Smokey Eye Makeup? Step-by-Step Guide
Smokey eye makeup is done by blending dark shadow shades (black, brown, or grey) outward from the lash line so the colour fades gradually instead of stopping in a hard line. Prime the lid, lay down a transition shade in the crease, deepen the outer corner and lash line, blend until the edges disappear, add a shimmer or glitter to the centre of the lid, then finish with liner and mascara.
Ask any makeup artist which look gets requested the most at weddings and parties, and “smokey eyes” comes up almost every time. It looks intense, but honestly, it’s more about patience with your blending brush than any fancy technique. We see this a lot with students at MSTC too — they rush the blending step, and that’s usually the difference between a smokey eye and just… smudged eyeliner. So let’s go through it properly.
What Is Smokey Eye Makeup, Really?
At its core, a smokey eye is just dark eyeshadow blended so there’s no visible line between shades — everything fades into everything else, a bit like smoke (hence the name). It works because it draws the eye in and adds depth without needing a lot of colour theory or precision.
It’s worth mentioning this is a different goal from a doe eye, which is built around making the eyes look soft, rounded, and wide open rather than dramatic. If that’s more your style, we’ve written a separate guide on doe eye makeup that’s worth a read. But if you’re after depth and drama, keep going.
What You’ll Need Before You Start?
You don’t need twenty products for this. A basic kit looks like:
- Eyeshadow primer
- A matte transition shade (a soft brown or taupe works for most skin tones)
- A medium-dark crease shade
- A deep black or brown for the outer corner and lash line
- A shimmer shade for the lid
- A blending brush, a flat shader brush, and a small pencil brush
- Black eyeliner (pencil or gel)
- Mascara or lashes, if you’re using them
Step by Step Smokey Eye Makeup
Here’s the routine we actually teach in class, broken down step by step.
- Prime first. A thin layer of primer across the lid stops the shadow from creasing and makes the colour show up truer. Don’t skip this even if you’re in a hurry — it makes a bigger difference than people expect.
- Sweep on the transition shade. Using a fluffy brush, take your neutral matte shade through the crease. Think of this as your base map — it tells the darker shades where to go later.
- Deepen the crease. Go in with a slightly darker brown or grey and build it up in the crease, concentrating more towards the outer corner than the inner one.
- Pack colour into the outer corner. With a flat shader brush, press (don’t drag) your darkest shade into the outer “V” of the eye and along the upper lash line.
- Now blend it out. This is the step people rush. Switch to a clean fluffy brush and work the edges in small circles until you genuinely can’t tell where one shade ends and the next begins.
- Add shimmer to the centre of the lid. A little metallic or shimmer shade patted into the middle of the lid adds dimension and stops the whole look from feeling flat.
- Line the lash line. Tightline the upper lash line with a pencil or gel liner and smudge it straight into the shadow so there’s no obvious line.
- Smudge the lower lash line too. Just a bit of the same dark shade, blended softly underneath, ties the whole look together.
- Curl and coat your lashes. Mascara or false lashes, whichever you prefer — this is what makes the eyes pop against all that shadow.
- Clean up the edges. A touch of concealer under the brow and at the outer corner sharpens everything up and makes it look intentional rather than messy.
Tips to Make Your Smokey Eye Makeup Last Longer
- Always use an eyeshadow primer, even a cheap one is better than none
- Build colour in thin layers rather than one heavy application
- Use a clean brush for blending, never use the same brush to apply pigment.
- Set under-eye concealer with translucent powder before you start on the eyes, so fallout doesn’t stick
Smokey Eye for Different Eye Shapes
- Hooded eyes: Keep the darkest colour slightly above the crease so it’s visible when the eye is open
- Round eyes: Extend the smoke outward towards the temple to elongate the shape
- Almond eyes: You can experiment freely, almost every version of this look suits almond eyes
- Downturned eyes: Focus the depth on the outer upper corner and blend it upward, not downward
Bridal Makeup Smokey Eye: Should You Go Smokey on Your Wedding Day?
This is one of the most common questions we get from brides. A smokey eye can absolutely work for bridal makeup, but it needs a slightly different approach than a night-out look. For bridal makeup, a smokey eye is usually softened with warmer, more skin-flattering tones like copper, bronze, or soft plum instead of stark black, and the intensity is dialled back so it photographs well in daylight and flash both. Pairing it with a more neutral lip keeps the overall look balanced rather than overdone.
If you’re a bride considering this look, it’s worth trying it during your trial makeup session first, since lighting at the venue and your outfit colour can change how it should be adjusted. Our bridal makeup course covers exactly this kind of bridal-specific colour theory and technique in detail, if you’re someone learning to do this professionally rather than just for yourself.
Common Mistakes to Avoid
Skipping the transition shade. This is the single biggest reason smokey eyes look muddy instead of smoky.
Using too much shimmer everywhere. One shimmer shade on the lid is enough; more than that and it stops looking smokey and starts looking glittery.
Not blending the lower lash line. A hard line under the eye instantly makes the whole look feel unfinished.
Rushing the process. A good smokey eye takes 15–20 minutes minimum. If you’re doing it in five, it will show.
Final Thoughts
A smokey eye is one of those techniques that looks far more complicated than it actually is. Once you get comfortable with the idea of layering shades from light to dark and blending as you go, you’ll be able to adapt this same base technique for everyday makeup, party looks, and even bridal makeup. Like most things in makeup artistry, the difference between an average smokey eye and a stunning one usually comes down to practice and blending, not the products you own.
If you’d like to learn techniques like this properly, along with bridal makeup, hairstyling, and professional artistry, do explore the courses at Makeup Studio Training Centre — we’d love to help you turn this into a skill you can build a career on.
Frequently Asked Questions
How do you do a smokey eye for beginners?
Start soft — use browns instead of black, keep most of the colour at the outer corner, and build it up gradually rather than going dark straight away. Blending matters more than precision here.
What colours are used in smokey eye makeup?
The classic combination is black, charcoal, and deep brown, but plum, navy, and bronze all work well too if you want something a little less severe.
Can you do smokey eye makeup without black eyeshadow?
Yes, easily. A soft smokey eye made entirely of browns, taupes, and greys still gives you that smoked-out effect, just with a softer, more daytime-friendly finish.
How long does smokey eye makeup usually last?
With a good primer and a setting spray, most smokey eyes hold up for 8 to 10 hours without much creasing or fading.
Is glitter smokey eye makeup okay for weddings?
Definitely — it’s one of the more popular bridal and wedding-guest choices, particularly in gold or copper tones that pair well with Indian bridal outfits.

Sorry, the comment form is closed at this time.